Build a Better Time Tracking Spreadsheet

At its core, a simple time tracking spreadsheet is just a custom document you build in a program like Excel or Google Sheets to manually log your work hours. Think of it as a powerful, cost-free alternative to dedicated software, giving you complete control over how you track and analyze your time—whether for projects, clients, or personal goals.
Why Build Your Own Time Tracking Spreadsheet
While paid software certainly has its place, a custom-built spreadsheet offers unmatched flexibility without the monthly subscription fees. You get to decide exactly what information to track and how to display it, creating a tool that fits your specific workflow perfectly. This level of granular control is something you often lose with one-size-fits-all software.
The global time tracking software market is booming, valued at around $3.35 billion and projected to climb to $3.93 billion. This growth, largely driven by the shift to remote work, just goes to show how critical effective time management has become. You can dig into more details in this comprehensive market overview.
Tailoring Your Tool to Your Needs
Imagine you're a freelancer juggling multiple clients, each with a different hourly rate. A custom spreadsheet lets you build a system that automatically calculates billable hours for each client. That's a feature that generic software might struggle with or lock behind a premium subscription.
An agency with a small team might just need a central log for everyone's hours, without the complexity and cost of an enterprise platform. A shared Google Sheet is a simple, collaborative solution that everyone can access and update in real-time.
A homemade time tracking spreadsheet puts you in the driver’s seat. You’re not just logging hours; you’re designing a system that reflects how you actually work, providing insights that are directly relevant to your goals.
Beyond Professional Use
The benefits aren't just for professional settings, either. You can use a personal spreadsheet to monitor time spent on hobbies, fitness goals, or side projects with incredible precision. By creating a tool that is as simple or as complex as you need, you avoid the feature bloat that often comes with commercial products.
Here are a few scenarios where a custom spreadsheet really shines:
- Freelancers: Easily manage various client projects and billing rates in one place.
- Small Teams: Maintain a simple, centralized timesheet without paying for unnecessary features.
- Students: Track study hours for different subjects to improve time management.
- Personal Projects: Monitor progress on hobbies or learning new skills without a monthly fee.
Ultimately, building your own time tracking spreadsheet is about creating a personalized tool that empowers you. You are in complete control of your data, your process, and the insights you gain from it.
Building the Core of Your Timesheet Template
To create a time tracking spreadsheet that actually works, you have to start with a solid foundation. Whether you're firing up Excel or Google Sheets, the structure you build right now will dictate how easy—or painful—it is to manage your time down the road. The whole idea is to set up a few key columns that grab every critical detail without making it a chore to fill out.
Think of these columns as the skeleton of your timesheet. If you get them right, everything else, from the formulas to the final reports, will click into place. Each one has a specific job, and together they turn a simple log into a genuinely useful productivity tool.
Defining Your Essential Data Fields
Before a single minute of work gets logged, you need to decide on your headers. These are the non-negotiable fields that give your time tracking meaning. You can always add more columns later for extra detail, but these fundamentals will cover just about any scenario for freelancers, small teams, or even personal projects.
Here are the columns I consider must-haves for any functional timesheet:
- Date: The day the work happened. This is non-negotiable for billing cycles and weekly reports.
- Project/Client: This column answers what you were working on. Keeping this consistent is absolutely crucial for accurate reporting later.
- Task: This adds another layer of detail, describing the specific activity. For example, the project might be "Website Redesign," while the task is "Wireframing."
- Start Time: The exact time you kicked off the task.
- End Time: The exact time you wrapped up.
- Duration: The total time spent. Don't worry about calculating this by hand; we'll automate it with formulas in the next section.
A well-structured template eliminates guesswork. By defining these core columns from the get-go, you ensure every time entry is clean, consistent, and ready for analysis—which is the whole point of this exercise.
If you want to go a bit deeper on the initial setup, our guide on how to create a timesheet in Excel breaks down more of the formatting specifics to get you started. This foundational work is what separates a confusing, messy log from a professional tool you can rely on.
Now that we have the headers, let's talk about the data that will go into them. Setting up the right columns is only half the battle; ensuring the data is clean and consistent is just as important.
The table below outlines the core columns you'll need, the best format for each, and why it matters.
Essential Columns for Your Time Tracking Spreadsheet
| Column Name | Data Format | Purpose |
|---|---|---|
| Date | Date (e.g., MM/DD/YYYY) | Essential for organizing entries chronologically and for weekly or monthly reporting. |
| Project/Client | Text or Dropdown Menu | Identifies the overarching project or client, allowing for high-level analysis. |
| Task | Text | Provides specific details about the activity performed, adding context to the time entry. |
| Start Time | Time (e.g., HH:MM AM/PM) | Marks the beginning of a work session, crucial for accurate duration calculations. |
| End Time | Time (e.g., HH:MM AM/PM) | Marks the end of a work session, used with Start Time to calculate the total duration. |
| Duration | Time or Number (Formula) | The calculated total time spent. This column should be automated to avoid manual errors. |
Getting these columns and their formats right from the start will save you countless headaches.
Formatting for Consistency and Ease of Use
With your columns in place, the next step is formatting. This isn't just about making things look pretty; it's about preventing errors and speeding up your data entry. Inconsistent data will break your formulas and render your reports useless.
You need to apply specific formats to each column to guide the input. For the 'Date' column, lock it into a MM/DD/YYYY format for uniformity. For 'Start Time' and 'End Time', use a time format like HH:MM AM/PM. This structure is what allows your duration calculations to work flawlessly later on.
Want to take it a step further? Use data validation to create dropdown menus for the 'Project/Client' column. This is an absolute game-changer for data integrity, as it completely eliminates typos and variations like "Client A" versus "client a." Just create a list of your projects on a separate tab and link it to the column using your spreadsheet's data validation feature. It's a small step that builds a solid, error-proof foundation for your new system.
Automating Your Spreadsheet with Key Formulas
Once you've got a solid structure in place, it’s time to make your spreadsheet do the heavy lifting. This is the fun part, where we turn a static grid of data into a dynamic tool that works for you. By adding just a few key formulas, you can ditch the manual calculations, slash the chance of errors, and save yourself a ton of time.
Getting an automated timesheet up and running is pretty straightforward when you break it down. This visual guide walks you through the core steps, from the initial setup to your final time entry.
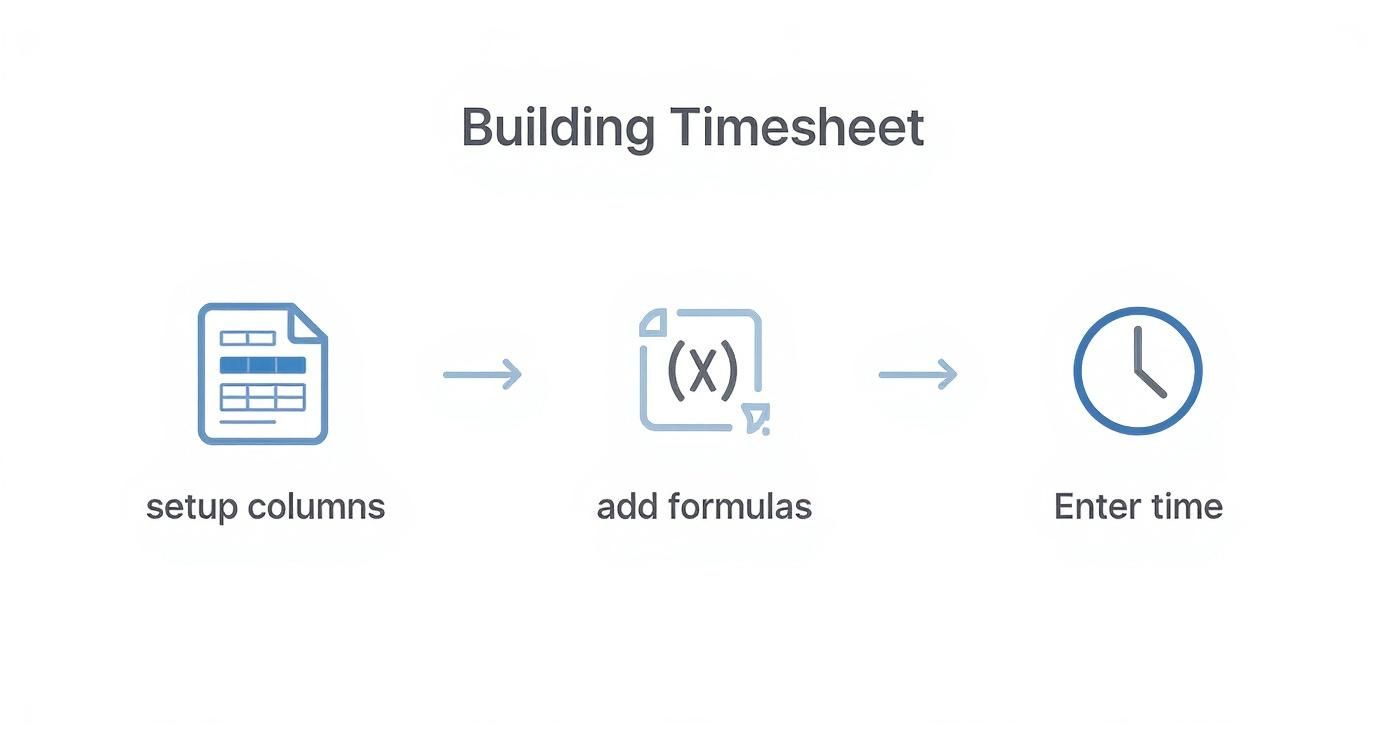
As you can see, setting up your columns correctly is the foundation for everything else. Get that right, and the formulas will simplify the final step of just plugging in your time.
Instantly Calculate Work Duration
The first and most important formula you’ll need is for the 'Duration' column. Manually subtracting the start time from the end time for every single task is a recipe for headaches and mistakes. A simple formula can handle this in a flash.
Let's say your 'Start Time' is in cell D2 and your 'End Time' is in cell E2. The formula for your duration in cell F2 would look like this:=(E2-D2)*24
This formula works by subtracting the start from the end time, which gives you a fraction of a day. Multiplying by 24 converts that fraction into a decimal number that represents the total hours you worked. For instance, if you worked from 9:00 AM to 5:00 PM (8 hours), the raw result is 0.333, and 0.333 * 24 gives you exactly 8.0.
This one formula is the real workhorse of your automated spreadsheet. Once it's in the first row, just grab the fill handle (that little square at the bottom-right of the cell) and drag it down to apply it to all the other rows.
Turning time into decimals is a must for most payroll and invoicing systems. If you want to dive deeper into the mechanics, our guide on how to convert minutes to decimals is a fantastic resource you can use for all sorts of applications.
Summing Up Your Hours for Easy Totals
After calculating the duration for each individual task, the next logical step is to add them all up. You'll probably want to see your total hours for the day, the week, or maybe the entire project. This is where the SUM formula comes in.
To get a total for the week, assuming your durations are in cells F2 through F10, you’d use this:=SUM(F2:F10)
Just pop this formula into a cell at the bottom of your weekly entries or in a separate summary section. It will automatically update as you add new time entries, giving you a running total without you having to do a thing.
Calculating Billable Amounts for Invoicing
For freelancers and agencies, time tracking is directly tied to getting paid. You can easily extend your spreadsheet to automatically calculate the billable amount for each task and give you a grand total ready for your invoice.
First, add a new column and call it 'Billable Amount'. Next, put your hourly rate in a separate cell—let’s use H1 to make it easy to find. In the 'Billable Amount' column (G2), use this formula:=F2*$H$1
Here’s a quick breakdown of what's happening:
- F2 is the duration in hours for that specific task.
- $H$1 is your hourly rate. The dollar signs
$make this an absolute reference, which is a fancy way of saying that when you drag the formula down to other rows, it will always look at cell H1 for the rate.
The rise in remote work is a huge reason why effective time management tools are more critical than ever. The time tracking software market is actually projected to grow from USD 3.8 billion to USD 16.1 billion over the next decade. If you want to get more complex with your formulas or just need some fresh ideas for structuring your data, you might also find it helpful to leverage AI with ChatGPT prompts.
Visualizing Your Time for Better Insights
So, you’ve got your formulas humming and your spreadsheet is calculating everything automatically. That’s a huge win. But right now, it’s just a functional log of hours. The real magic happens when you turn those raw numbers into something visual.
Data visualization transforms your timesheet from a simple record into a powerful productivity dashboard. This is where you can finally see the patterns, spot the time sinks, and start making smarter decisions about how you spend your most valuable resource—your time.
The end game here is to find meaningful, actionable insights examples within your own work habits. Instead of just logging hours, you start asking what that data is really telling you. With a couple of simple charts and formatting tricks, you can make your spreadsheet instantly scannable and far more powerful.
Create a Project Breakdown with a Pie Chart
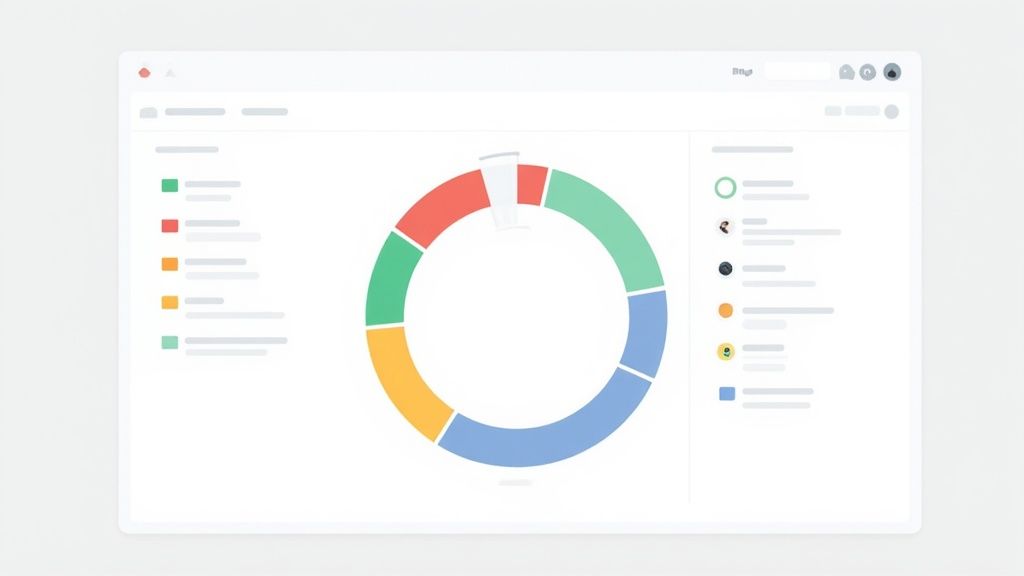
One of the easiest and most effective ways to see where your time is going is with a classic pie chart. It's perfect for getting that quick, at-a-glance summary of how your hours are split across different projects or clients. It immediately answers the question, "Where is most of my effort really going?"
To build one, you’ll first need to summarize your data. You can do this with a pivot table or just by manually creating a simple two-column list: one for Project Name and another for Total Hours.
Once you have that summary table ready:
- Select Your Data: Just highlight both the project names and their total hours.
- Insert Chart: Head to the "Insert" menu in Excel or Google Sheets and click "Chart."
- Choose Pie Chart: Pick the pie chart option from the list, and the software will instantly generate a visual breakdown for you.
This simple chart might reveal that one client is eating up 70% of your time or that an internal, non-billable project is consuming far more resources than you thought. For a more granular view of your project timelines, you might also find our guide on Gantt charts for seamless project management a great next step.
Make Your Data Scannable with Conditional Formatting
Conditional formatting is an absolute game-changer. This feature automatically changes a cell's appearance—like its background color—based on rules you define. It’s an amazing way to make crucial information jump right off the page without you having to lift a finger.
Conditional formatting adds a layer of intelligence to your time tracking spreadsheet. It’s no longer just a passive log; it actively highlights what needs your attention, whether it's a task that’s running long or an over-serviced client.
It turns your static sheet into a dynamic dashboard that flags important data for you.
Here are a couple of practical ways I like to use it:
- Highlight Long Tasks: Set up a rule to turn any cell in the "Duration" column red if the value is over a certain threshold, like 4 hours. This gives you an instant visual cue for tasks that might be dragging on.
- Color-Code Clients: Apply a rule that automatically colors entire rows based on the client or project name. For example, all tasks for "Client A" could be shaded light blue, while "Client B" gets a green tint.
These visual tweaks elevate your spreadsheet from a data-entry tool to a strategic asset, making it much easier to spot inefficiencies and manage your workload effectively.
Advanced Tips for Power Users
Okay, you've got the basics down. Your formulas are working, and you can visualize your time. Now, let's kick things up a notch and turn that simple log into a truly professional system.
These next steps are what separate a decent timesheet from a powerful, scalable tool that saves you a ton of administrative headaches. We're going to move beyond a single-sheet setup and build a more robust structure that feels less like a spreadsheet and more like a custom app.
The secret? Centralizing all your project information. Instead of manually typing in client names or hourly rates over and over, we’ll create a dedicated 'Projects' tab to act as your single source of truth.
Centralizing Project Data with a Master Tab
Think of this new tab as a mini-database for your freelance business or agency. It’s where you'll create a simple table with columns like 'Project Name,' 'Client,' and 'Hourly Rate.'
By keeping all this info in one place, you gain a massive advantage. If you need to update a client's rate, you change it in one cell on this tab, and that new rate will automatically apply to all future time entries. No more digging through old rows to make manual changes.
This approach is a game-changer for reducing errors and saving time. Forget hunting down a typo in a project name across dozens of entries; just fix it once in your master list, and you're done. This is the foundation for a truly scalable time tracking spreadsheet.
Automating Data Retrieval with VLOOKUP or INDEX/MATCH
With your 'Projects' tab ready to go, we can now use some powerful lookup formulas to automatically pull that data into your main timesheet. The goal is to select a project from a dropdown menu and have its client name and hourly rate pop up instantly. For this, we'll turn to formulas like VLOOKUP or INDEX/MATCH.
I generally start people with VLOOKUP because it's a bit more straightforward. A formula in your "Hourly Rate" column might look something like this:
=VLOOKUP(B2, Projects!A:C, 3, FALSE)
Here’s what that formula is telling your spreadsheet to do:
- Look at the project name you selected in cell B2 of your main timesheet.
- Scan the first column of your 'Projects' tab (within the range of columns A through C) for that exact name.
- Once it finds a match, grab the value from the third column of that row (which is your hourly rate).
- The
FALSEat the end just means it needs to find an exact match.
This little piece of automation is what makes your spreadsheet feel intelligent. It’s a small change that delivers a huge boost in efficiency and accuracy, especially as your client and project list starts to grow.
By combining a master project list with lookup formulas, you build a dynamic system that requires minimal data entry. This not only speeds up your workflow but also ensures that your financial calculations are always based on the correct, up-to-date information.
The need for precise time management is only getting bigger, especially with the explosion of freelance and remote work. In fact, the time tracking market is projected to grow at a compound annual rate of 24.5%, largely driven by these shifts in how we work. You can read more about this growing market trend. Building a robust, automated system like this isn't just a neat trick—it's becoming a crucial skill.
Got Questions? We've Got Answers
Even the best-laid plans (and spreadsheets) hit a few snags in the real world. Let's tackle some of the most common questions that come up once you start using your new time tracking sheet every day.
How Do I Track Work That Spans Across Midnight?
This is a classic spreadsheet headache. If you start a task at 10:00 PM and wrap up at 2:00 AM, a simple End Time - Start Time formula throws a fit. It sees the end time as earlier than the start time and spits out a negative number or a nasty #VALUE! error.
The fix is a smarter formula that understands what a calendar is. This little gem for Excel or Google Sheets handles overnight work perfectly:
=IF(E2<D2, (E2+1)-D2, E2-D2) * 24
So, what's it doing? It just checks if your end time in cell E2 is less than your start time in D2. If it is (meaning you worked past midnight), it adds a full day (the +1) to the end time before doing the math. Simple, but it works like a charm.
What Is the Best Way to Manage Non-Billable Hours?
Not every minute you work is a billable one. You've got admin tasks, client calls, professional development—all the stuff that keeps the lights on but doesn't go on an invoice. If you don't track it, you're getting a skewed view of your actual productivity.
The easiest way to handle this is by adding a new column, maybe called "Billable?" Create a simple dropdown menu with two options: "Yes" and "No." That's it. Now you can easily filter your sheet to see exactly where all that non-billable time is going.
Tracking both billable and non-billable hours gives you your true hourly rate. It also shines a light on time-sucking admin tasks you might be able to automate or delegate, freeing you up for more money-making work.
Can I Adapt My Personal Template for Team Use?
Absolutely. Turning your solo timesheet into a team tracker is a pretty natural next step, especially if you're using a cloud tool like Google Sheets. All you really need to do is add a "Team Member" column to log who did what.
For a small crew, a single shared sheet is usually the way to go. Just add that "Team Member" column and use data validation to create a dropdown list of names. This keeps everything consistent and makes it a breeze to filter and run reports for the whole team or just one person. As you grow, you might look into a master sheet that pulls data from individual ones, but for now, this simple tweak keeps your time tracking spreadsheet scalable.
Ready to ditch the manual entry for good? DeskCove provides automated time tracking that gives you a crystal-clear picture of your team's productivity. It cuts out the guesswork and manual work, giving you deep insights into where time is really going so you can focus on what matters.