How to create timesheet in excel: A Step-by-Step Guide

Building a timesheet in Excel is a surprisingly simple way to get a handle on your team's hours. You're just setting up a few columns for dates, times, and what everyone's working on, then letting some basic formulas do the heavy lifting. It works so well because it’s a tool most businesses already have and know how to use, giving you a cost-free and flexible way to track time without shelling out for special software.
Why Smart Teams Still Use Excel for Timesheets
In a world overflowing with slick time-tracking apps, you might be wondering why anyone would still bother creating a timesheet in Excel. The truth is, for a lot of small businesses, scrappy startups, and agile teams, Excel hits the sweet spot of power, familiarity, and cost-effectiveness. It’s that reliable old friend that’s already installed on just about every work computer.
This is a bigger deal than it sounds. Microsoft Office 365 holds nearly 30% of the global market share for office productivity suites, making it one of the most common business tools on the planet. That means no extra software to buy and no painful onboarding process, which is a massive win for any company keeping an eye on the bottom line.
Unmatched Flexibility and Control
Unlike rigid, off-the-shelf software, an Excel timesheet is a blank canvas. You have total control over how it looks and what it does, letting you build a system that fits your workflow perfectly—not the other way around. This kind of customization is a game-changer for businesses with specific needs.
Here’s where that flexibility really shines:
- Custom Fields: Need to track project codes, specific tasks, billable vs. non-billable hours, or even client names? Just add a column. It’s that easy.
- Adaptable Formulas: If your overtime policies or pay rates change, you can update your formulas in minutes. No waiting for a software developer to push an update.
- Simple Integration: Getting data out is just as easy as getting it in. You can copy and paste timesheet data directly into payroll systems, invoices, or project reports without messing with complicated export settings.
The real power of an Excel timesheet is in its simplicity and adaptability. It’s a tool that grows with you, allowing for quick tweaks as your team and projects evolve, without locking you into a specific software's limitations.
One of the main reasons smart teams even bother with timesheets is for better resource management. When you understand the core principles of good resource scheduling, you see just how valuable this data becomes. An Excel timesheet gives you the raw numbers you need to make sharp decisions about project timelines and team capacity.
At the end of the day, its accessibility and adaptability make it a go-to solution for practical, no-nonsense time tracking.
Setting Up Your Timesheet Layout for Success
The secret to a timesheet that actually works isn't about flashy formulas; it's about a clean, logical layout that anyone can pick up and use instantly. When you're putting together a timesheet in Excel, starting with a well-organized worksheet will save you from a world of frustration down the road. A clear design makes sure data goes in correctly, which is the first—and most important—step toward getting accurate numbers out.
Think of it like building a house: you need a solid blueprint before you start putting up walls. The same logic applies here, much like how you would build other financial tools in Excel from scratch, where a sensible structure is absolutely key. The goal is to create a simple grid that just makes sense the moment you look at it.
Defining Your Essential Columns
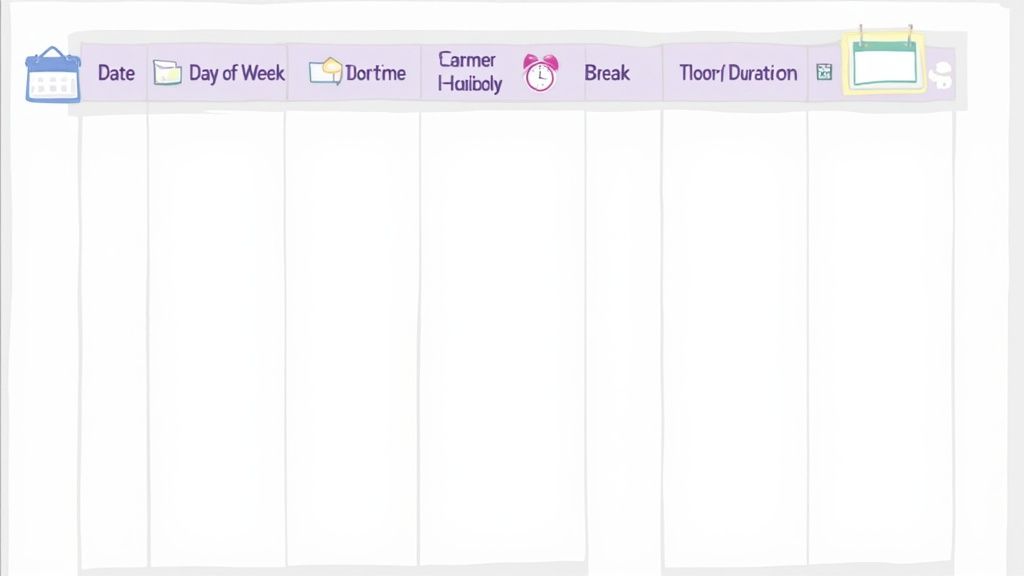
First things first, open a new Excel workbook and start laying out the headers for the core information you need to track. These columns are the non-negotiables for any functional timesheet, so they should be your starting point.
Here are the must-haves I always set up:
- Date: This is where you'll log the specific day an employee worked. It's critical for organizing entries by pay period.
- Day of the Week: This one isn't strictly necessary, but I find it makes the sheet much easier to read and helps managers quickly spot weekend work.
- Start Time: The time the employee clocked in for their shift.
- End Time: The time the employee clocked out.
- Break Duration: This records the total time for unpaid breaks, like lunch. You have to capture this separately to get your hour calculations right.
- Total Hours Worked: This is a calculated field where our formulas will eventually go. For now, just leave it blank.
Once you have these headers in place, you’ve basically built the skeleton of your timesheet. This simple structure is the backbone that will support all the formulas and features we'll add later on.
Applying the Correct Cell Formats
Now for the step that trips up so many people. If you don't tell Excel what kind of data to expect in each column, your formulas are guaranteed to throw errors. Proper formatting is the secret sauce that makes the whole thing work.
The single most important setup step is formatting your time-related cells correctly. Excel needs to understand that "09:00" is a time of day, not just text or a random number. Getting this right from the start prevents nearly all common formula errors.
Go ahead and select the columns for Start Time, End Time, and Break Duration. Just right-click on them, choose "Format Cells," and under the "Number" tab, select "Time." A format like "1:30 PM" or "13:30" will work perfectly.
For the Date column, do the exact same thing but select "Date" instead, choosing a format like "3/14/2024." This simple step enforces consistency and lets you sort your data by date without any issues. Nailing these small details now sets you up for a flawless calculation process.
Automating Calculations with Essential Formulas
Alright, you've got the basic structure of your timesheet laid out. Now for the fun part: making Excel do the heavy lifting. This is where we turn a static grid of cells into a dynamic tool that crunches the numbers for you. Automating these calculations is the whole point of building a timesheet in Excel—it saves a ton of time and, more importantly, cuts down on the kind of human errors that can wreak havoc on payroll.
The right formulas will handle everything from daily hours to weekly totals, making sure your data is spot-on every single time. We'll kick things off with the most fundamental calculation: figuring out the total hours worked each day.
Calculating Daily Hours Worked
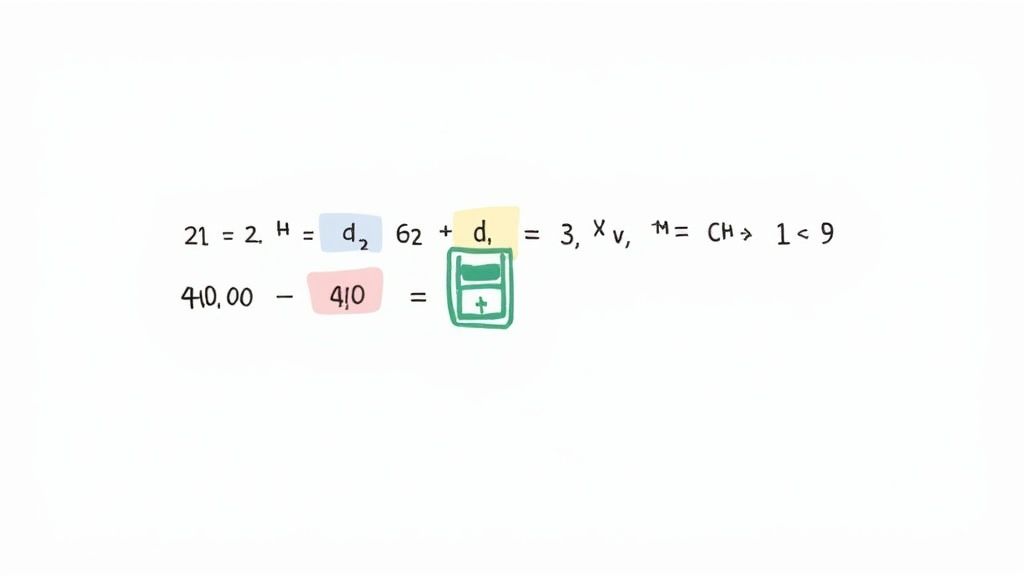
Let's imagine your columns are set up like this: Start Time is in column C, End Time is in column D, Break Duration is in column E, and the Total Hours will go in column F. The logic is pretty simple subtraction: (End Time – Start Time) – Break Duration.
So, in cell F2, you’ll pop in this formula:
=(D2-C2)-E2
This little formula takes the end time, subtracts the start time to get the total shift length, and then lops off any unpaid break time. The result is the actual hours worked for that day. From there, you can just click the small square at the bottom-right corner of cell F2 and drag it down the column to copy the formula for every other day. Easy.
But hold on—there’s a crucial formatting tweak you need to make. Excel will probably show the result in a time format, like "8:30 AM." To get a clean number you can actually use for payroll, you have to multiply the whole thing by 24.
If you're looking to get really precise with payroll, you might want to convert minutes in decimals for ultimate time conversion. This makes multiplying hours by an hourly rate much cleaner.
So, the better, more payroll-friendly formula looks like this:
=((D2-C2)-E2)*24
Now, if someone works from 9:00 AM to 5:30 PM and takes a 30-minute break, the cell will correctly show 8.0 instead of a useless "8:00."
Summing Up Weekly and Grand Totals
Once your daily hours are calculating correctly, figuring out weekly totals is a breeze. This is where the classic SUM function shines. If your daily hours for a week are listed in cells F2 through F8, you can just add a "Weekly Total" cell at the bottom of that range.
In that total cell, use this simple formula:
=SUM(F2:F8)
This instantly adds up all the daily hours for a perfect weekly total. But there's a common trap here. If you skipped multiplying your daily hours by 24, Excel might not display totals over 24 hours correctly. For instance, it could show "2:00" when the real total is "26:00." It’s a classic Excel headache.
To fix this, right-click the total cell, go to "Format Cells," select "Custom," and type [h]:mm into the field. Those square brackets around the "h" are the magic trick—they tell Excel to show cumulative hours beyond 24, keeping your totals accurate.
This formatting tip is honestly one of the most important things to remember when building an Excel timesheet. It prevents a super common and confusing error.
To get a grand total for the whole pay period, you just expand the SUM range to cover all the days. If the pay period runs from cell F2 down to F15, your grand total formula would be =SUM(F2:F15). With these key formulas locked in, your timesheet is no longer just a log—it's an automated calculation engine ready for payroll.
To make things even easier, here's a quick-reference table with the essential formulas we've covered.
Key Excel Formulas for Your Timesheet
This table breaks down the most important formulas you'll need to calculate hours and pay in your custom Excel timesheet.
| Calculation Goal | Excel Formula | Example & Notes |
|---|---|---|
| Calculate Daily Hours | =((D2-C2)-E2)*24 |
Assumes End Time is in D2, Start Time in C2, and Break in E2. Multiplying by 24 converts the result to a decimal format (e.g., 8.5 instead of 8:30). |
| Sum a Range of Hours | =SUM(F2:F8) |
Adds up all the values in a specified range. Perfect for calculating weekly, bi-weekly, or monthly totals. |
| Format Totals Over 24 Hours | [h]:mm |
This isn't a formula, but a custom number format. Apply it to your total cells to ensure hours like "45:30" display correctly. |
Having these formulas handy will save you a ton of time and prevent the most common timesheet headaches.
Adding Advanced Features for a Smarter Timesheet
Okay, so your timesheet is up and running, calculating daily and weekly hours like a champ. That’s a solid foundation. But now it's time to take it from a simple logbook to a genuinely smart management tool. A few key additions can make the timesheet faster to use, slash data entry errors, and give managers the insights they need at a glance.
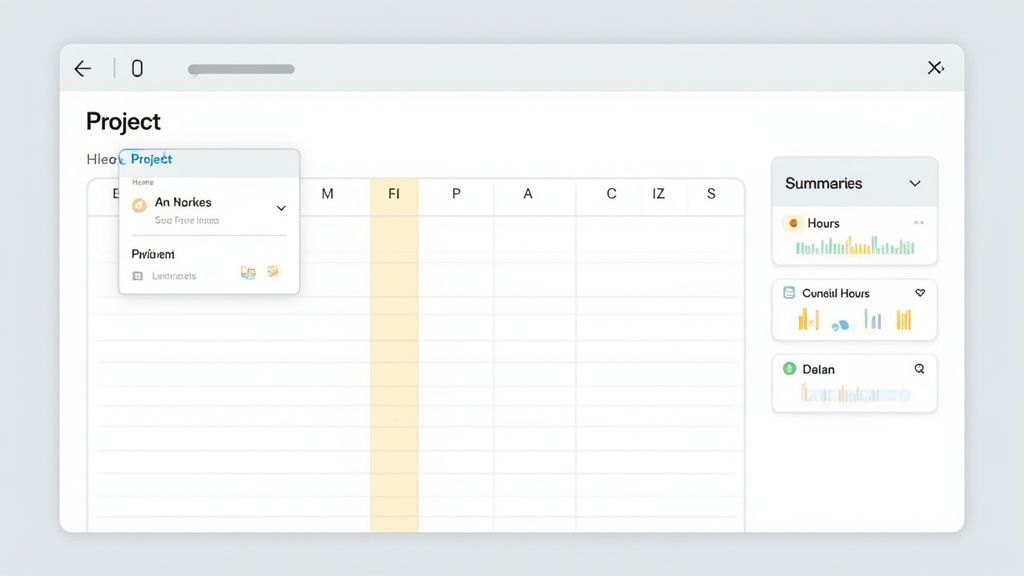
These features aren't complicated, but they pack a serious punch when it comes to functionality. We'll walk through three of my favorite improvements: drop-down menus for consistent data, visual alerts for things like overtime, and a summary dashboard for a high-level view.
Use Data Validation for Drop-Down Menus
Manually typing project names or task categories over and over is not only a drag, but it's also asking for typos. A simple mistake like "Project A" vs "project a" can completely mess up your reports down the line. The fix? Data Validation, which lets you create a clean drop-down list in a cell.
Getting this set up is easy. First, create a list of your projects or tasks somewhere out of the way, either in a separate tab or an unused column. Then, just do this:
- Click on the cell where you want the drop-down to appear (like the first cell in your "Project" column).
- Head to the Data tab on the ribbon and find Data Validation.
- Under the "Allow" dropdown, pick List.
- For the "Source" box, just select the range of cells that holds your list of project names.
- Click OK.
That's it. Now, instead of typing, employees just pick the right project from the list. This tiny change enforces total consistency across every single entry, making your data reliable and ready for analysis.
Highlight Key Information with Conditional Formatting
Imagine glancing at your timesheet and instantly spotting overtime hours or a missed clock-out. That's the power of Conditional Formatting. It automatically changes how a cell looks—like its background color—based on rules you define.
For instance, let's say you want to flag any day where someone worked more than eight hours.
- Select your entire "Total Hours" column.
- On the Home tab, go to Conditional Formatting > Highlight Cells Rules > Greater Than.
- Pop in the number 8 in the value box and pick a format, like the "light red fill."
This one simple rule gives managers an immediate visual cue. It pulls their attention straight to the data that actually matters, turning your timesheet from a passive record into a proactive tool for managing costs and workloads.
You can set up rules for pretty much anything—flagging entries with zero hours, highlighting weekend work, or marking shifts that fall below a certain length. This is easily one of the most powerful ways to build a truly intelligent timesheet in Excel.
Build a High-Level Summary Dashboard
While your main timesheet is great for daily details, a separate summary sheet—a "dashboard"—gives you the bigger picture. This is where you can roll up all that data to see things like total hours per project or total hours per employee for the whole pay period.
You can use formulas like SUMIF to pull this data automatically. For example, to add up all the hours logged for "Project A," your formula would look something like this:=SUMIF(Timesheet!G:G, "Project A", Timesheet!F:F)
This formula simply tells Excel to look in the project column (column G) on your "Timesheet" tab, find every instance of "Project A," and then sum the corresponding hours from the total hours column (column F). Set up a few of these on a new sheet, and you’ve got yourself a powerful dashboard that updates in real-time.
How to Prevent Common Timesheet Errors
You've built your timesheet, the formulas are humming, and all the features are dialed in. Now, the job shifts from creation to protection. A timesheet is only as good as the data it holds, and even the most perfectly designed spreadsheet is vulnerable to simple human error.
The single biggest threat? An employee accidentally deleting or typing over a crucial formula. One wrong click can break an entire week's calculations, causing a massive headache when it's time to run payroll. Thankfully, Excel has a simple but powerful way to stop this from happening.
Locking Down Your Formulas and Headers
The goal is to lock down everything except the cells where employees need to input their time. This creates a foolproof barrier around your formulas, headers, and structural elements while keeping the timesheet fully functional for day-to-day use.
Here’s how I always get this done:
-
Unlock the Input Cells: By default, every single cell in an Excel sheet is set to "Locked." Your first move is to tell Excel which cells should remain editable. Highlight all the cells where employees will enter data—your Date, Start Time, End Time, and Break Duration columns—then right-click, select "Format Cells," head to the "Protection" tab, and uncheck the "Locked" box.
-
Protect the Sheet: With your input cells now designated as editable, go to the "Review" tab on the ribbon and click "Protect Sheet." You'll see an option to add a password, but you don't have to. Just clicking "OK" will lock all the other cells on the sheet.

Now, if someone tries to click into a cell with a formula, Excel will pop up a warning and block any changes. It’s a small step that completely preserves the integrity of all your hard work.
Minimizing Manual Input Mistakes
Even with a protected sheet, manual entry mistakes can still sneak in. Don't underestimate this; studies have shown that around 88% of all spreadsheets contain errors stemming from manual input. For timesheets, where even small miscalculations can quickly compound into payroll nightmares, that statistic is especially jarring.
Your best defense against input errors is establishing a routine. Encourage everyone to fill out their timesheets daily instead of trying to reconstruct their week from memory on a Friday afternoon. This one habit drastically improves accuracy.
Another practical strategy is to build a quick review into your process. Before payroll is run, have a manager scan the timesheets for obvious oddities—like an 80-hour workweek or a forgotten clock-out.
This simple review, combined with making routine backups of the timesheet file, creates a solid system for protecting your data. It's also a key part of preventing time card fraud, which can be a subtle but very costly issue. These layers of protection are what turn a good timesheet into a trustworthy one.
Common Questions About Excel Timesheets
Even the most straightforward guide can leave you with a few lingering questions once you start plugging in numbers and formulas. It's totally normal. When you start building your own timesheet in Excel, you'll inevitably run into a few specific quirks.
Let’s walk through some of the most common hurdles people face. Getting these sorted out is the last step in really mastering your new timesheet.
https://www.youtube.com/embed/pRn0eCk9GI
How Do I Calculate Overtime Hours in Excel?
This is probably one of the most frequent requests I get. Tracking overtime seems tricky, but it's really just a simple bit of logic using an IF function. The whole idea is to tell Excel to separate regular hours from any hours that go beyond your standard workweek.
First, you need a threshold. For most, that’s 40 hours.
Let's say your total weekly hours are sitting in cell F10. In a separate cell for "Overtime," you'd pop in this formula: =IF(F10>40, F10-40, 0).
Here's what it's doing: It checks if the value in F10 is greater than 40. If it is, the formula subtracts 40 from the total, leaving you with just the overtime hours. If it's not over 40, it just returns a 0. Simple as that.
What Is the Best Way to Handle Shifts That Cross Midnight?
Ah, the dreaded night shift. This one stumps a lot of people because a basic EndTime - StartTime formula completely breaks when a shift goes past midnight. You end up with a negative number, and your whole calculation is thrown off.
There’s a wonderfully elegant fix for this. The formula you want to use is: =((EndTime - StartTime) + (EndTime < StartTime)) * 24.
The magic is in the (EndTime < StartTime) part. This is a logical test. If the end time is earlier than the start time (like a shift from 10 PM to 6 AM), the test returns a value of 1. That 1 represents one full day, which automatically corrects the math.
This formula is an absolute lifesaver for any business that runs around the clock. It guarantees that no matter when a shift starts or ends, you'll get an accurate duration without having to do any manual workarounds.
Can I Use an Excel Timesheet on a Mobile Device?
Yes, absolutely! This is a game-changer for teams that aren't tied to a desk. The Microsoft Excel app, available for both Android and iOS, lets you and your team open, view, and make edits right from a phone or tablet.
It's perfect for remote employees or staff who move between different job sites. A quick tip for making it mobile-friendly: design your timesheet with slightly larger fonts and clear, simple input fields. It makes a huge difference on a smaller screen.
Ready to move beyond manual spreadsheets? DeskCove offers automated time tracking that eliminates errors, captures productivity data, and gives you back hours of administrative time. See how effortless time management can be. Learn more about DeskCove.