How to Create a Timesheet in Excel: Step-by-Step Guide

Building a timesheet in Excel really just comes down to a few key pieces: setting up columns for dates and times, plugging in a few simple formulas to do the math for you, and formatting the whole thing so it's easy to read. It’s a pretty straightforward process, and since most people already have Excel, it's a fast and incredibly cost-effective way to get a handle on work hours.
Why Excel Still Wins for Time Tracking
In a world overflowing with specialized apps for everything, you might wonder why so many businesses still turn to a simple spreadsheet for something as important as time tracking. The answer is simple: Excel delivers a powerful mix of familiarity, accessibility, and total flexibility. It's so much more than just a grid of cells.

Honestly, its biggest advantage is that almost everyone already knows how to use it. Microsoft Office products are used by millions of workers who are already comfortable with the interface. This completely slashes the training time you'd need for a new system.
The Practical Benefits of an Excel Timesheet
Beyond just being familiar, Excel brings some real, tangible benefits to the table that keep it relevant. You get a level of control that many dedicated apps just can't offer. You can tweak every single aspect to fit exactly what your company needs, whether that’s tracking specific project codes or calculating complicated overtime rules.
Here's why it's often the smartest choice:
- Cost-Effective: Let's be real—most businesses already pay for Microsoft Office. That makes the cost of implementing an Excel timesheet basically zero.
- Complete Customization: You can add or remove columns, cook up custom formulas for payroll, and design a layout that perfectly mirrors your actual workflow. No trying to fit a square peg in a round hole.
- Offline Accessibility: Unlike a lot of cloud-based tools, Excel works just fine without an internet connection. This is a lifesaver for teams that need to log hours from job sites or while traveling.
- Data Control: Your timesheet data is your data. It stays on your machine, not on a third-party server, giving you full ownership and security over sensitive payroll information.
By getting a clear picture of how time is being spent, businesses can spot inefficiencies and find real opportunities. This clarity helps them reclaim hours and boost revenue just by optimizing their operations.
At the end of the day, choosing Excel is about using a powerful, accessible tool to simplify payroll, understand project hours, and get a better grip on team productivity—all without shelling out for expensive, specialized software. It's a practical solution that just plain works.
Setting Up Your Timesheet Structure
Starting with a blank Excel sheet is like laying the foundation for a house—getting the structure right from the beginning prevents major headaches later. A clean, logical layout is the key to creating a timesheet that's not just functional but also intuitive for anyone who needs to use it. Our first goal is to build a professional, easy-to-read template before we even think about adding formulas.
Let's start by setting up the essential columns. In a new worksheet, label the top row with these headers, one per column:
- Employee Name (If you're tracking for a team)
- Date
- Start Time
- End Time
- Break Duration (in minutes)
- Total Hours
These six columns are the backbone of a solid timesheet. They capture everything you need for accurate payroll and productivity tracking without overwhelming the user.
Formatting Columns for Accuracy
Just typing in headers isn't enough. For your formulas to work correctly later on, you have to tell Excel what kind of data to expect in each column. This is one of the most common places people make mistakes when trying to build a timesheet from scratch.
Select your "Start Time" and "End Time" columns, right-click, and choose Format Cells. Under the "Number" tab, pick "Time" and then the HH:MM format (like 13:30). Do the same for the "Date" column, but select "Date" and choose a format you like, such as MM/DD/YYYY. This step is non-negotiable; it ensures Excel sees your entries as actual times and dates, not just random text.
This infographic gives you a quick visual of the core setup process.
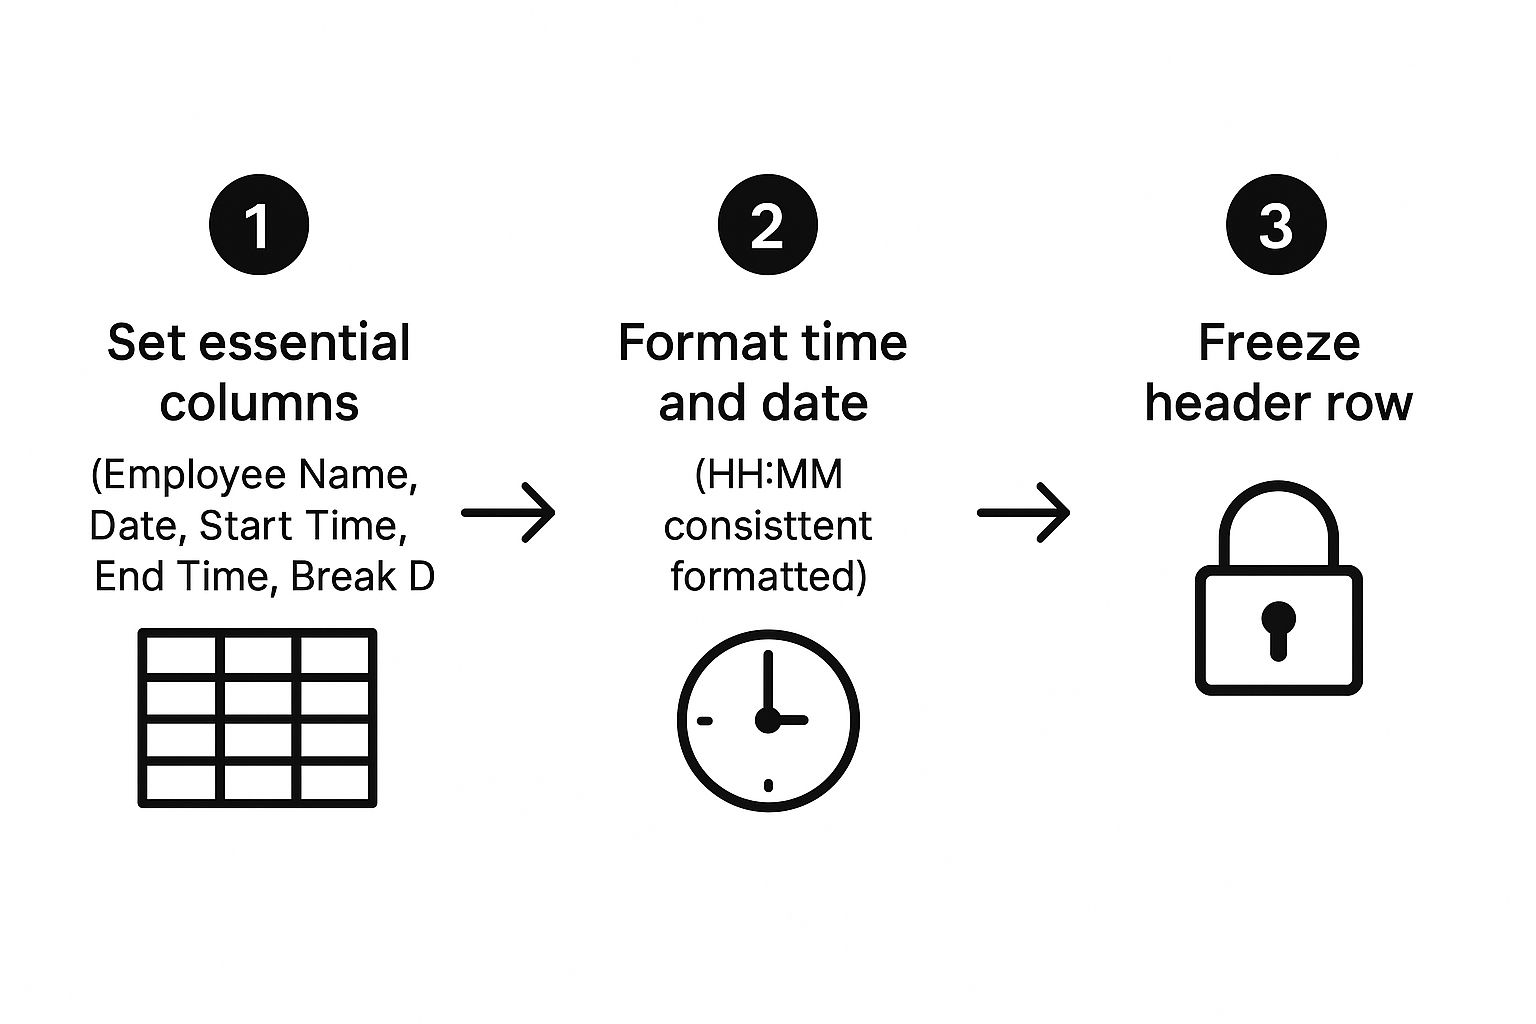
As you can see, a successful setup really just hinges on establishing clear columns and applying the right data formats to make it user-friendly.
A quick tip to make your timesheet even easier to use: freeze the header row. Just go to the "View" tab, click "Freeze Panes," and select "Freeze Top Row." Now, as you scroll down through weeks of data, your column headers will always stay visible at the top.
Properly structuring your timesheet is the first step toward better time management, and this skill is transferable. For instance, if you also need to manage team availability, you can apply similar principles when you create a schedule in Excel by organizing dates, names, and shift times in a clear, structured way.
Automating Calculations with Key Formulas
Alright, now that you've got the basic structure of your timesheet laid out, it's time for the fun part: making Excel do the heavy lifting. This is where your simple grid transforms into a smart, automated tool that gets rid of manual math and cuts down on those frustrating (and costly) errors. Think of these formulas as the engine that powers your entire timesheet.
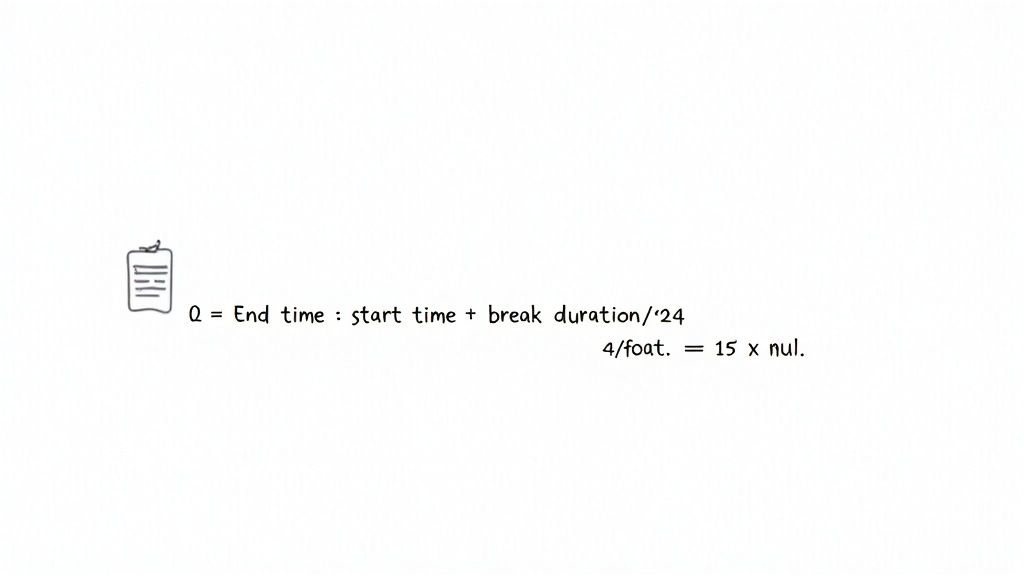
The first, and most important, formula we'll tackle is the one that calculates the total hours worked each day. It’s not quite as simple as just subtracting the start time from the end time. Why? Because Excel thinks of time as a fraction of a 24-hour day, which isn't very helpful for payroll. We need a specific formula to turn that fraction into a clean decimal number.
Calculating Daily Hours Worked
Let's imagine your "Start Time" is in column C, "End Time" is in column D, and you've got "Break Duration (in minutes)" over in column E. In your "Total Hours" column (we'll use F2 for this example), you’re going to type this formula:
=(D2-C2-(E2/1440))*24
Let’s quickly break down what this is doing:
- D2-C2: This first part simply subtracts the start time from the end time to get the total shift duration.
- E2/1440: We divide the break minutes by 1440 (which is the total number of minutes in a day) to convert it into a format Excel understands in its time calculations.
- *24: This is the magic step. Multiplying the result by 24 converts Excel’s quirky time value into the standard decimal hours format (like 8.5 hours) that payroll systems need.
Getting this conversion right is absolutely essential for accurate pay. If you want to get deeper into the weeds of time conversion, we have a whole guide on handling minutes in decimals that's worth a read.
Once that formula is in the first cell (F2), just grab the small square in the bottom-right corner of the cell and drag it down the column. Excel will automatically apply the formula to every row for you. No more manual entry.
Summing Up the Weekly Total
With the daily hours sorted, you'll need a grand total for the pay period. This is where the simple but mighty SUM() function comes into play. Just find an empty cell at the bottom of your "Total Hours" column, maybe next to a label like "Weekly Total."
In that cell, type this in:
=SUM(F2:F8)
This tells Excel to add up everything in the range from F2 to F8, giving you a perfect weekly total without having to touch a calculator.
Automating net hours and weekly totals isn't just a time-saver; it builds accuracy and transparency right into your process. This small change is a big step towards following essential payroll best practices that keep your financial operations clean and compliant.
With these formulas in place, your timesheet is no longer just a log—it’s a reliable, automated tool that works for you.
Incorporating Advanced Tracking Features
Once you've got your basic calculations working, it's time to level up. A well-built timesheet is more than just a log of hours; it’s a powerful tool that gives you a real look into your business operations. By adding a few more functions, you can move past simple payroll and start making smarter decisions about project costs and how you manage your team's time.
One of the most useful upgrades is an overtime calculator. You can create this with Excel’s IF() function, which is perfect for these kinds of "what if" scenarios. It simply checks if a condition is met and then does one thing if it's true and another if it's false.
Building an Overtime Calculator
Let's say your total weekly hours are sitting in cell G9. Since a standard workweek is 40 hours, anything over that is overtime. Pop this formula into a new cell to calculate it automatically:
=IF(G9>40, G9-40, 0)
What’s happening here? The formula looks at the value in G9. If it's more than 40, it subtracts 40 from the total, leaving you with just the overtime hours. If it's not, it just shows 0. Simple, but it instantly flags any extra hours worked without you having to lift a finger.
By adding a few advanced formulas, your Excel timesheet becomes a dynamic dashboard for your business operations. It’s a simple way to get a clear, data-backed view of where your team's time is really going.
Tracking Projects and Tasks
To get a more detailed picture of where time is being spent, add columns for "Project" or "Task." This simple addition helps you see exactly how hours are split across different activities.
Many companies, especially agencies or service-based businesses, live and die by this data. A marketing firm, for instance, might track hours spent on "Content Creation" versus "Client Meetings" to make sure their billing is spot-on for each project. This kind of granular tracking is invaluable for profitability.
For better data hygiene, use Excel’s Data Validation feature to create a dropdown list of your project names. This little trick is a lifesaver—it prevents typos and ensures all your data is consistent and easy to analyze.
Now you can use the SUMIF() function to automatically tally up hours for specific projects. Let’s say your project names are in column B and the hours are in column F. This formula would total all the time logged for "Project Alpha":
=SUMIF(B2:B50, "Project Alpha", F2:F50)
With this in place, you can see project costs in real-time and more accurately calculate billable hours for your clients. Your timesheet just went from a simple log to a central hub for analyzing productivity.
Putting the Finishing Touches on Your Template
A great timesheet isn't just about formulas; it's also about being user-proof and easy to read. Once you've got the core structure and calculations working, it's time to add those final touches that turn a good spreadsheet into a professional, team-ready tool. This means adding smart visual cues and, crucially, protecting your hard work from any accidental edits.
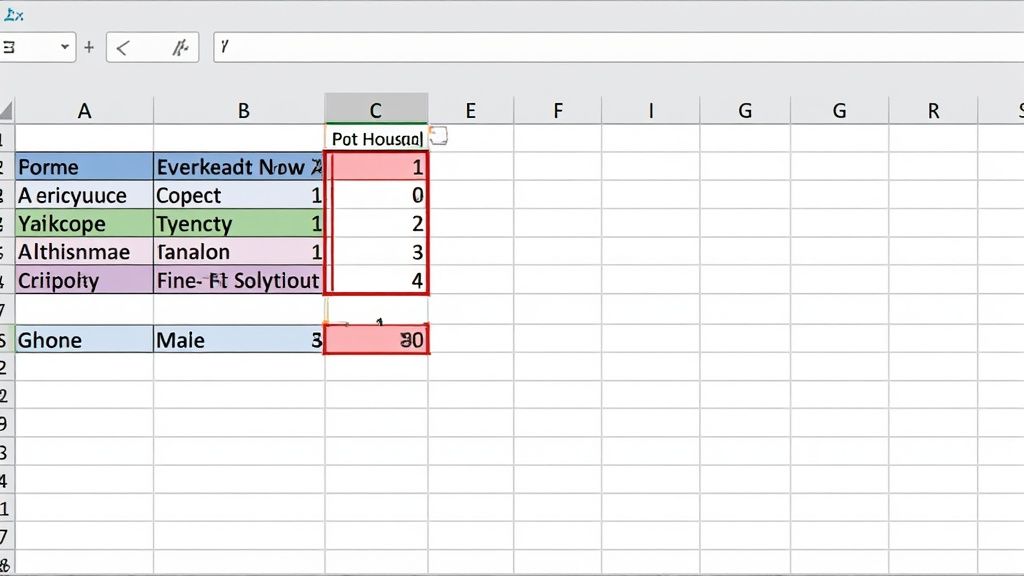
One of the quickest wins for clarity is using Conditional Formatting. This awesome Excel feature lets you change how a cell looks based on what's inside it. For example, you can make overtime hours jump off the page so they never get missed.
Highlighting Key Data Visually
Let's set up a simple rule to flag any overtime. Assuming your overtime hours are calculated in column H, you can create a rule that makes any cell with a value greater than zero turn red.
Here’s how you do it:
- Select all the cells in your overtime column (e.g., from H2 down).
- Head to the Home tab, find Conditional Formatting, and click Highlight Cells Rules > Greater Than.
- Pop a 0 in the box and pick a format from the dropdown, like "Light Red Fill with Dark Red Text."
Just like that, anytime someone works overtime, those hours will be automatically flagged. It’s a simple visual cue that makes reviewing timesheets so much faster. You can apply this same idea to color-code different project codes or task types, giving you an at-a-glance view of where the team's time is going.
Locking Down Your Formulas
This next part is probably the single most important step: protecting your sheet. The last thing you want is for someone to accidentally click and drag over a key formula, breaking the entire timesheet for everyone. Thankfully, Excel lets you lock down specific cells while leaving others editable.
Protecting your sheet is a non-negotiable step for ensuring data integrity. It prevents accidental deletions of key formulas, making your timesheet a robust and reliable tool for everyone on your team.
First, you need to tell Excel which cells people are allowed to edit. Highlight all the cells employees will need to fill in—things like Date, Start Time, End Time, and Break Duration. Right-click on your selection, choose Format Cells, navigate to the Protection tab, and uncheck the Locked box.
Now for the final step. Go to the Review tab and click Protect Sheet. You can set a password here if you'd like (it's a good idea if you want to be the only one who can make changes). This action locks every cell you didn't just unlock. Your formulas are now safe, but your team can still enter their time without any trouble. Your timesheet is now ready for action
Common Questions When Building Your Excel Timesheet
As you start putting your Excel timesheet together, a few common questions always seem to pop up. Let's tackle some of the trickiest ones you might run into.
How Do I Handle Overnight Shifts?
This is a classic Excel headache. If a shift starts at 10 PM and ends at 6 AM, a simple EndTime - StartTime formula will give you a negative number and an error. It just doesn't know how to handle a shift that crosses the midnight line.
The fix is a clever IF formula that checks for this exact scenario: =IF(EndTime < StartTime, (EndTime + 1) - StartTime, EndTime - StartTime) * 24. This formula looks to see if the end time is "earlier" than the start time. If it is, it adds a full day (the "+ 1" part) to the calculation, correctly figuring out the total hours worked.
Can I Use This Timesheet in Google Sheets?
You bet. Everything we've covered here translates beautifully to Google Sheets. The core structure and the essential formulas, like SUM and IF, are practically identical.
You can build this exact template in Google Sheets without needing to change much, if anything at all. It's a great option if you need to collaborate with others or access your timesheet from anywhere.
The best way to sidestep data entry mistakes is by using Excel's Data Validation feature. You can create dropdown lists for things like project names or set rules that only allow valid time formats, which goes a long way in keeping your sheet clean and accurate.